📌 Disclaimer
Prices, schedules, tour details, flight routes, visa requirements, and all other information on this page are based on data at the time of writing. Fares, availability, and policies may change. Please verify current details on the official website before booking.
Photo by Marek Piwnicki on Pexels
Traveling to Chile offers an array of experiences, from stunning landscapes to deep history. In today’s connected world, having reliable internet access during your travels is essential. One of the most convenient ways to stay connected while exploring Chile is through an eSIM. This guide will help you understand the benefits of using an eSIM, compare available plans, and offer practical tips for staying connected during your trip.
Why Get an eSIM for Chile#
An eSIM, or embedded SIM, is a digital alternative to a traditional SIM card. It allows you to connect to a mobile network without needing a physical card, making it particularly convenient for travelers. With an eSIM, you can easily switch between different data plans and networks without the hassle of swapping out SIM cards, which is especially useful if you plan to visit multiple countries or regions.

Using an eSIM in Chile provides several advantages. First, it eliminates the need to search for a local SIM card upon arrival, saving you time and effort. Second, eSIMs typically offer competitive data plans tailored to travelers, allowing you to choose a plan that best fits your needs. Lastly, eSIMs can often be activated remotely, meaning you can have internet access as soon as you land in Chile.
Available Plans Compared#

When considering an eSIM for your trip to Chile, it’s important to evaluate the available plans based on data amount, duration, and price. Here are the eSIM options you can choose from:
- 1 GB Chile travel eSIM valid for 7 days | 5.0
- 2 GB Chile travel eSIM valid for 15 days | 8.0
- 3 GB Chile travel eSIM valid for 30 days | 10.5
- 5 GB Chile travel eSIM valid for 30 days | 15.5
- 10 GB Chile travel eSIM valid for 30 days | 28.0
- 20 GB Chile travel eSIM valid for 30 days | 48.0
To help you decide which plan suits your needs, consider the following comparisons:
- The 1 GB plan is the most economical option for short trips, costing 5.0 for just 7 days. However, it may not be sufficient for heavier internet users.
- The 2 GB plan provides a bit more data at 8.0 for 15 days, which could be suitable for moderate internet use.
- The 3 GB plan costs 10.5 and lasts for 30 days, making it a reasonable choice for those who want a month of connectivity without using too much data.
- The 5 GB plan at 15.5 for 30 days offers a good balance for travelers who plan to use their devices frequently.
- For more intensive users, the 10 GB plan at 28.0 for 30 days provides ample data for streaming, navigation, and social media.
- Finally, the 20 GB plan at 48.0 for 30 days is the best option for heavy users, offering the lowest cost per gigabyte at 2.40 per GB.
Best Value: Which Plan Saves You the Most#
When evaluating the plans available, the 20 GB Chile travel eSIM valid for 30 days at 48.0 stands out as the best value. This plan offers a significant amount of data for a reasonable price, translating to just 2.40 per GB. For travelers who anticipate using their devices frequently for navigation, social media, and communication, this plan ensures you have enough data without worrying about running out.

In contrast, the lower-tier plans may seem appealing due to their lower upfront costs, but they can quickly become more expensive per gigabyte when you consider the limited data and shorter validity periods. If you are planning to stay in Chile for an extended period or if you are a heavy data user, opting for the 20 GB plan is a wise choice.
How to Install Your eSIM Before Traveling#
Installing an eSIM is a straightforward process, but it requires a few steps to ensure you are connected as soon as you arrive in Chile. Before you travel, follow these steps:

Check Compatibility: Ensure that your device supports eSIM functionality. Most modern smartphones, such as the latest models from Apple, Samsung, and Google, have this feature.
Purchase Your eSIM: Select the plan that best fits your needs and purchase it online. You will typically receive a QR code via email or a confirmation app.
Install the eSIM: Once you have your QR code, follow these steps:
- Go to your device’s settings.
- Navigate to the mobile network or cellular settings.
- Choose the option to add a mobile plan.
- Scan the QR code provided to activate the eSIM.
Activate Your Plan: After scanning the QR code, your device will prompt you to activate the plan. Follow the on-screen instructions to complete the setup.
Test Your Connection: Before you travel, ensure that your eSIM is working properly by checking your internet connection. You can do this by turning off Wi-Fi and trying to access the internet using mobile data.
By following these steps, you can ensure that you are ready to connect as soon as you arrive in Chile.
eSIM vs Physical SIM vs Roaming#
Understanding the differences between eSIMs, physical SIMs, and roaming can help you make an informed decision about how to stay connected while traveling in Chile.

A physical SIM requires you to replace your existing SIM card with a new one from a local carrier. This process can be inconvenient, as it often involves finding a store upon arrival and may require you to carry multiple SIM cards if you plan to visit other countries.
In contrast, an eSIM eliminates the need for a physical card, allowing you to switch between different plans and carriers digitally. This feature is particularly beneficial for travelers who may visit multiple destinations, as you can easily manage your connectivity without the hassle of changing SIM cards.
Roaming refers to using your home carrier’s service while abroad, which can lead to high costs and limited data allowances. Many travelers find that roaming charges can quickly add up, making it a less economical choice compared to purchasing a local eSIM.
Overall, opting for an eSIM provides greater flexibility and often more competitive pricing compared to traditional SIM cards or roaming options.
Tips for Staying Connected in Chile#
To make the most of your eSIM experience in Chile, consider these practical tips:
Monitor Your Data Usage: Keep an eye on your data consumption to avoid running out before your plan expires. Most smartphones have built-in tools to track data usage.
Use Wi-Fi When Available: While having mobile data is convenient, utilizing Wi-Fi in cafes, hotels, and public places can help conserve your data allowance.
Download Offline Maps: If you plan to explore remote areas, consider downloading maps for offline use. This can save data and ensure you have access to navigation even without a connection.
Communicate via Apps: Use messaging apps like WhatsApp or Telegram instead of traditional SMS to reduce data usage and have more economical communication options.
Explore Local SIM Options: If your data needs change during your stay, consider checking local SIM card options as a backup, especially if you anticipate needing more data.
By following these tips, you can enhance your connectivity experience while enjoying all that Chile has to offer.
📌 Disclaimer
Prices, schedules, tour details, flight routes, visa requirements, and all other information on this page are based on data at the time of writing. Fares, availability, and policies may change. Please verify current details on the official website before booking.
Top Tours & Activities
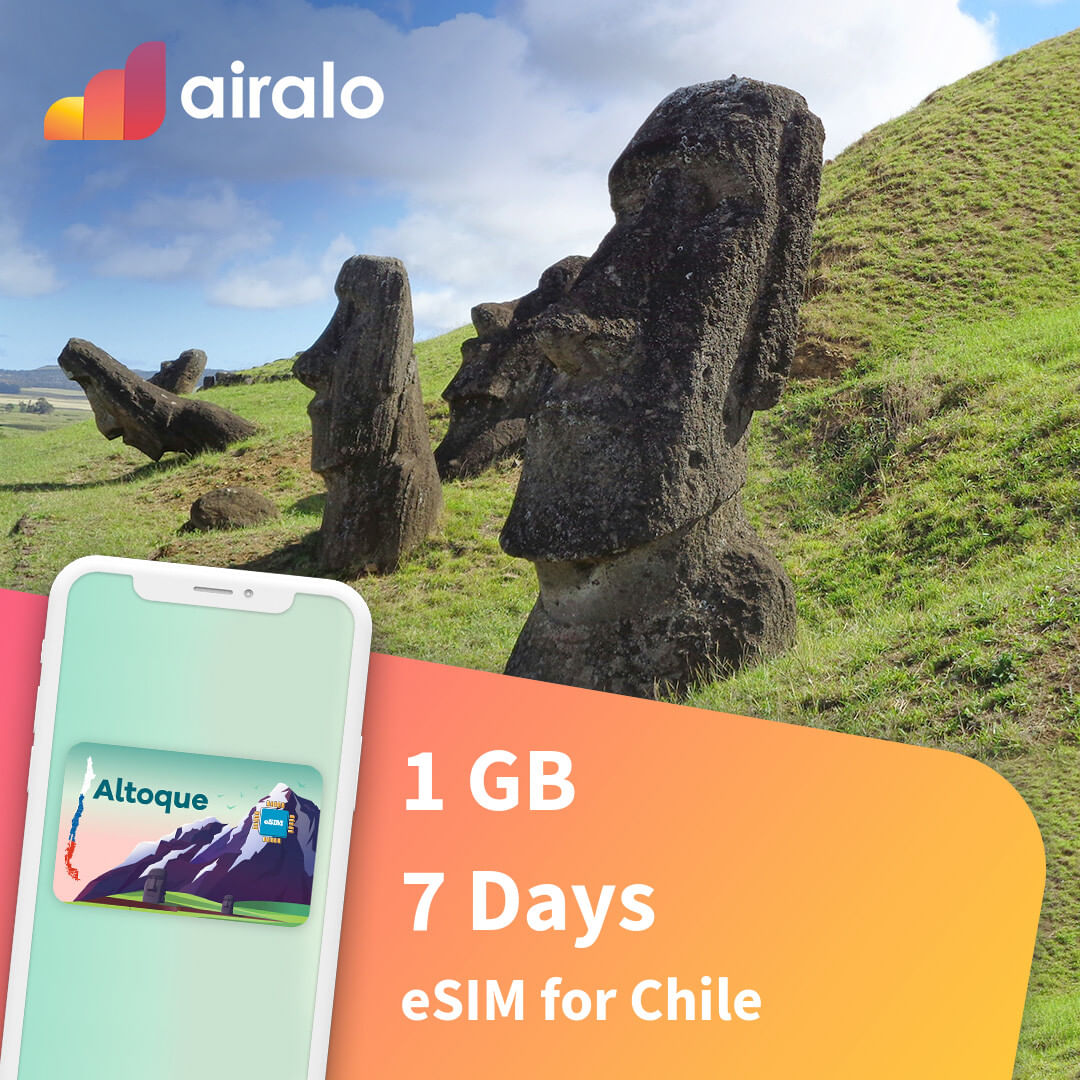
1 GB Chile travel eSIM valid for 7 days
eSIM Plan
From $5
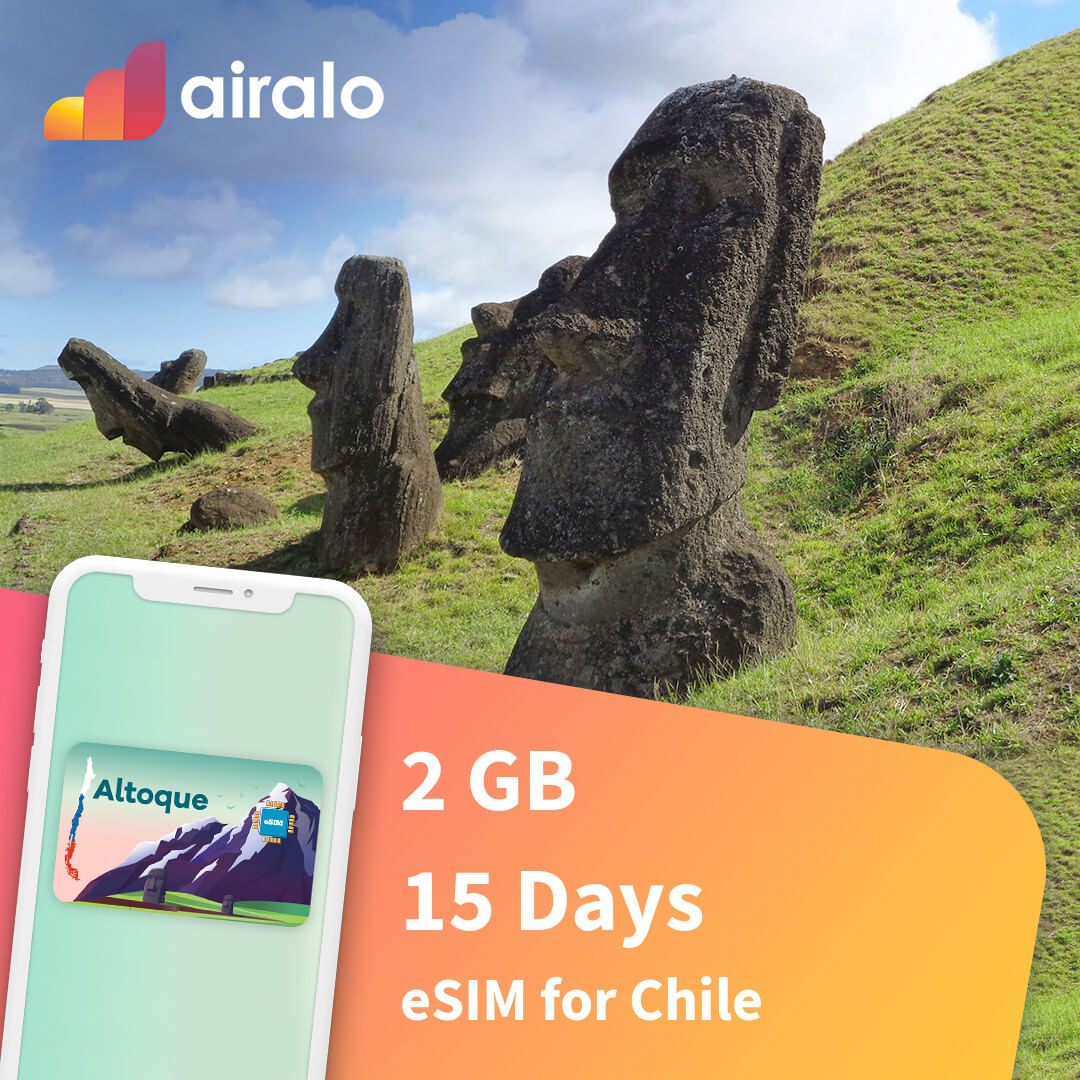
2 GB Chile travel eSIM valid for 15 days
eSIM Plan
From $8
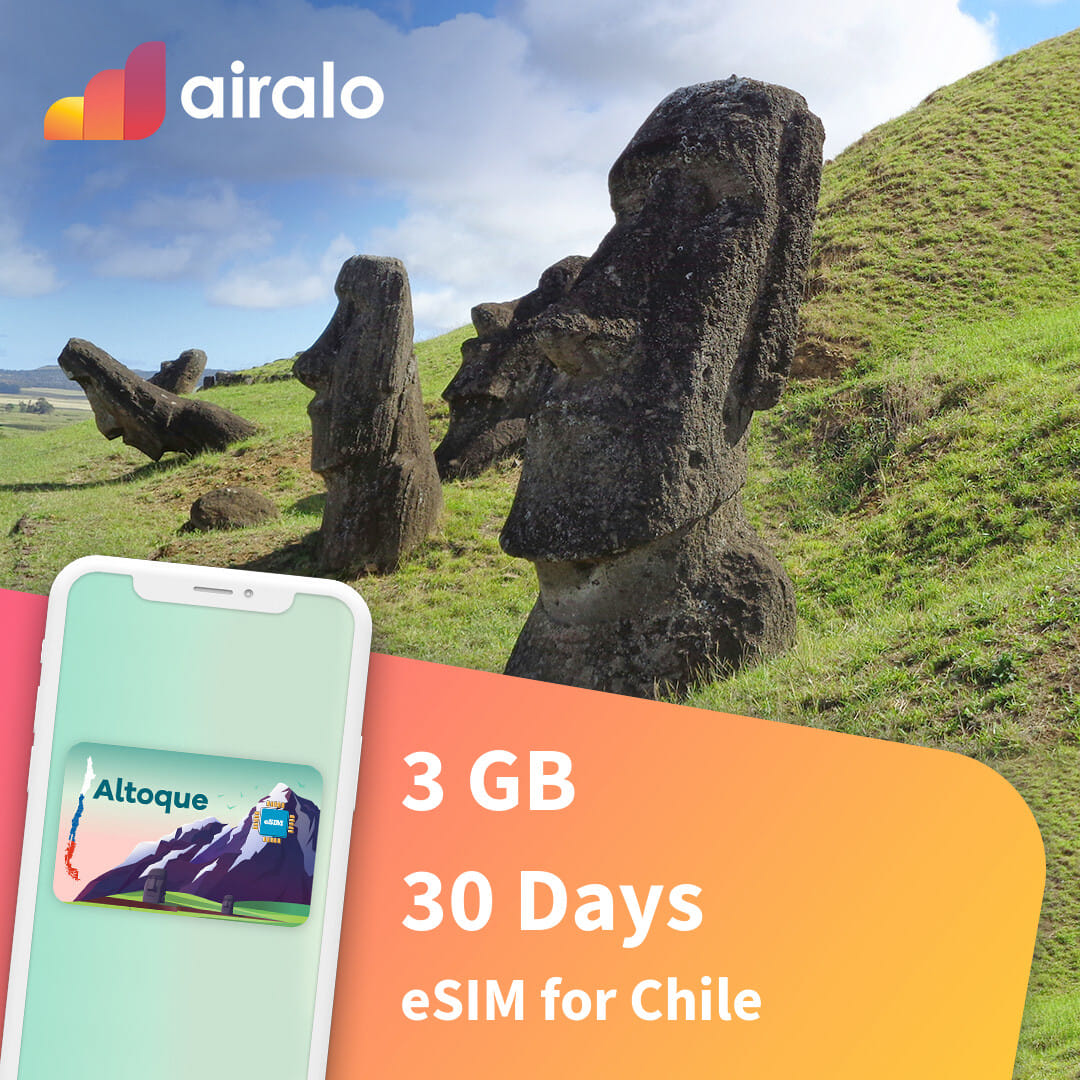
3 GB Chile travel eSIM valid for 30 days
eSIM Plan
From $10
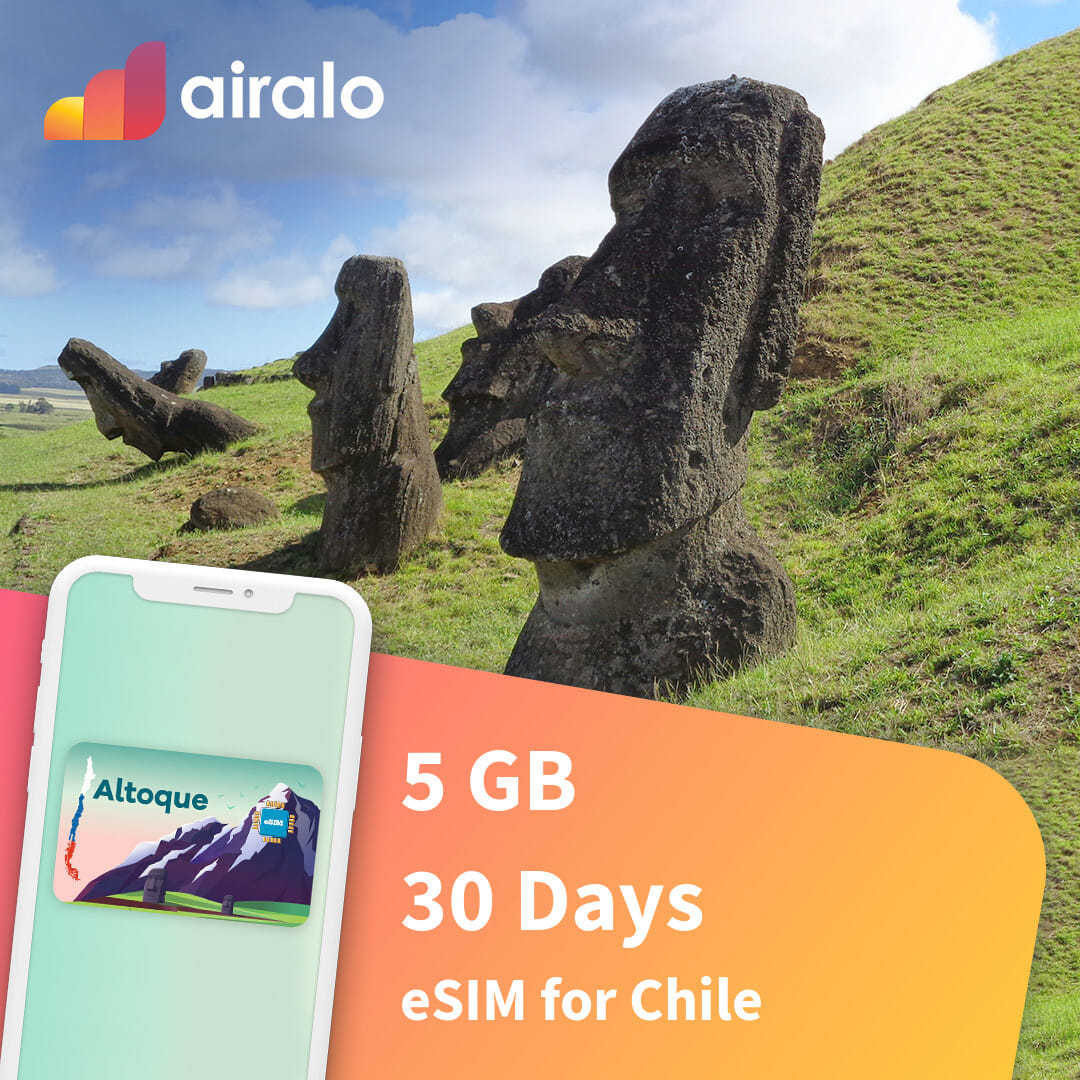
5 GB Chile travel eSIM valid for 30 days
eSIM Plan
From $16
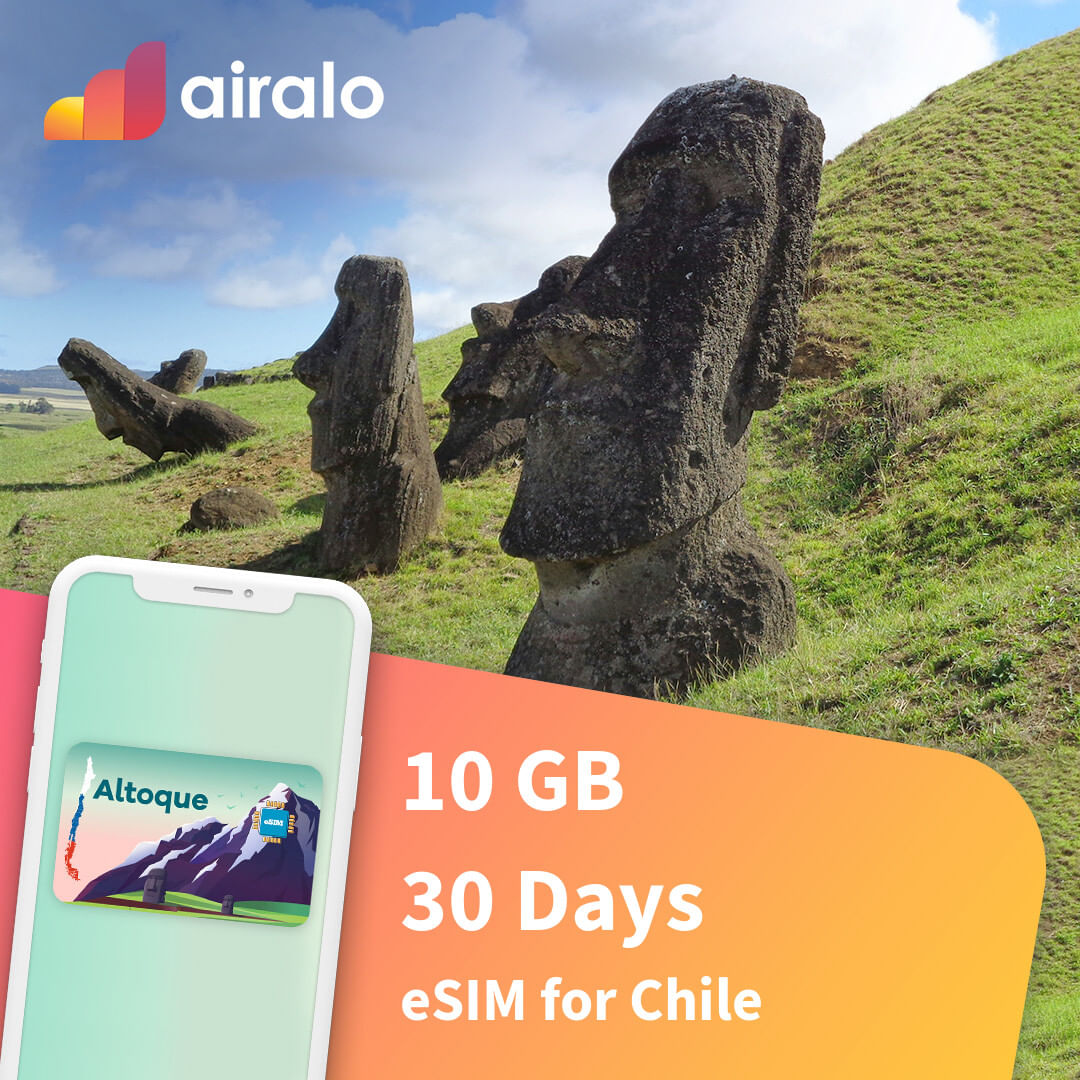
10 GB Chile travel eSIM valid for 30 days
eSIM Plan
From $28
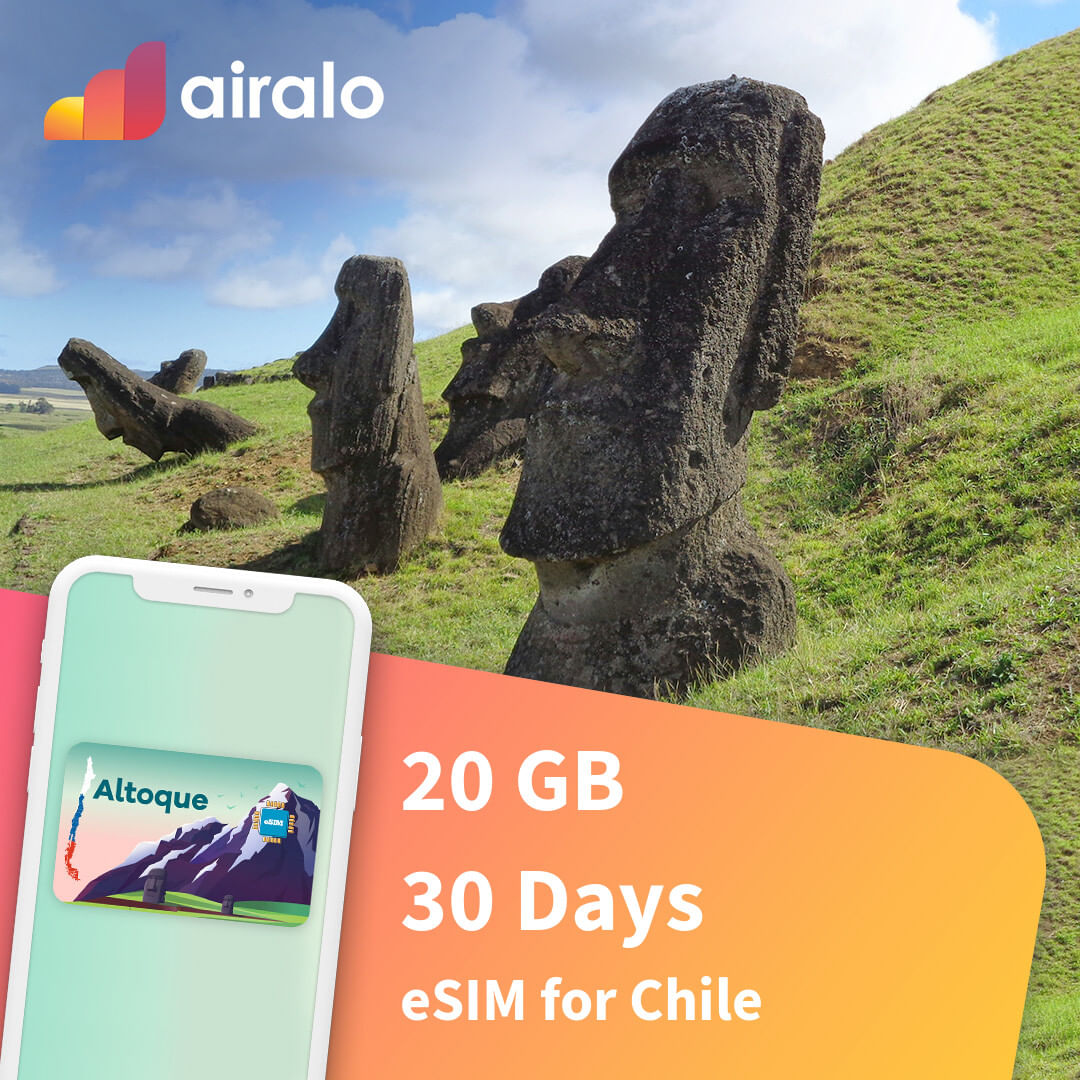
20 GB Chile travel eSIM valid for 30 days
eSIM Plan
From $48
📌 More about Chile