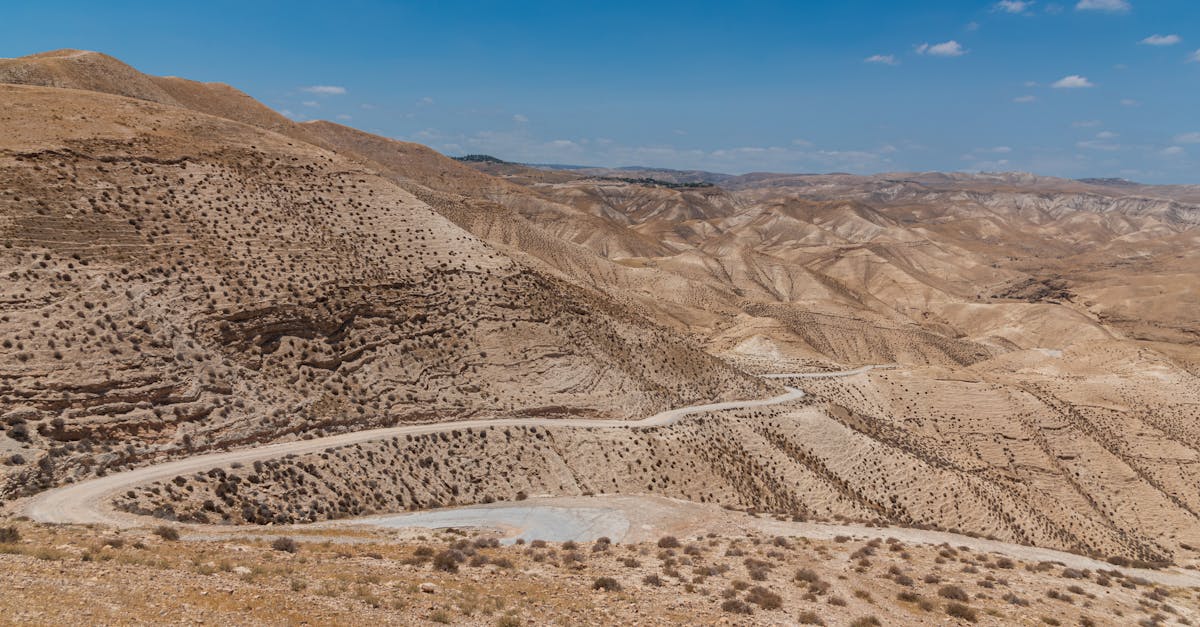
Photo by Haley Black on Pexels
Traveling to Israel can be an exciting adventure filled with rich history, stunning landscapes, and vibrant culture. To stay connected during your trip, using an eSIM can be a convenient and cost-effective solution. This guide will help you understand the benefits of eSIMs, compare available plans, and provide practical tips for staying connected while exploring Israel.
Why Get an eSIM for Israel#
An eSIM (embedded SIM) allows you to connect to mobile networks without needing a physical SIM card. This technology is particularly beneficial for travelers for several reasons:

Convenience: eSIMs can be activated remotely, meaning you can set up your mobile plan before arriving in Israel. This eliminates the hassle of finding a local SIM card upon arrival.
Multiple Plans: With eSIMs, you can easily switch between different plans or carriers without needing to swap physical cards. This flexibility is ideal for travelers who may want to change their data plan based on their needs.
Cost-Effective: eSIM plans often offer competitive pricing compared to traditional roaming fees, allowing you to stay connected without breaking the bank.
Immediate Connectivity: Once you arrive in Israel, you can activate your eSIM and have immediate access to data, making it easier to navigate, communicate, and share your experiences.
Available Plans Compared#
When traveling to Israel, you have a variety of eSIM plans to choose from. Here’s a breakdown of the available options:
| Plan Description | Data | Duration | Price (USD) | Price per GB (USD) |
|---|---|---|---|---|
| 1 GB eSIM | 1 GB | 7 days | 4.5 | 4.50 |
| 2 GB eSIM | 2 GB | 15 days | 5.5 | 2.75 |
| 1 GB eSIM + Calls/SMS | 1 GB, 10 mins, 10 SMS | 7 days | 5.5 | 5.50 |
| 3 GB eSIM | 3 GB | 30 days | 6.0 | 2.00 |
| 2 GB eSIM + Calls/SMS | 2 GB, 20 mins, 20 SMS | 15 days | 7.5 | 3.75 |
| 5 GB eSIM | 5 GB | 30 days | 8.0 | 1.60 |
| 3 GB eSIM + Calls/SMS | 3 GB, 30 mins, 30 SMS | 30 days | 9.5 | 3.17 |
| 10 GB eSIM | 10 GB | 30 days | 12.0 | 1.20 |
| 5 GB eSIM + Calls/SMS | 5 GB, 50 mins, 50 SMS | 30 days | 13.5 | 2.70 |
| 20 GB eSIM | 20 GB | 30 days | 17.0 | 0.85 |
| 10 GB eSIM + Calls/SMS | 10 GB, 100 mins, 100 SMS | 30 days | 22.0 | 2.20 |
| 20 GB eSIM + Calls/SMS | 20 GB, 200 mins, 200 SMS | 30 days | 34.0 | 1.70 |
This table summarizes the data, duration, and pricing of each plan, making it easier for you to choose the right option based on your needs.
Best Value: Which Plan Saves You the Most#
Among the available plans, the 20 GB Israel travel eSIM valid for 30 days at $17.00 offers the best value. This plan provides an impressive amount of data for a low price, translating to just $0.85 per GB. For travelers who plan to use their devices extensively for navigation, social media, streaming, or staying in touch with friends and family, this option is an excellent choice.
If you’re looking for a more budget-friendly alternative with decent data, the 5 GB eSIM for $8.00 (at $1.60 per GB) is also a solid option, especially for shorter stays or lighter data users.
How to Install Your eSIM Before Traveling#
Installing an eSIM is a straightforward process, but it requires a compatible device. Here’s how to set it up:
Check Compatibility: Ensure your device supports eSIM technology. Most newer smartphones, including recent models from Apple, Samsung, and Google, are compatible.
Purchase Your eSIM: Before your trip, select and purchase the eSIM plan that best suits your needs. You will receive a QR code or activation details via email.
Install the eSIM:
- Go to your device’s settings.
- Select “Cellular” or “Mobile Data.”
- Choose “Add Cellular Plan.”
- Scan the QR code or enter the activation details provided.
Activate Your Plan: Once installed, ensure the eSIM is activated before you arrive in Israel. You can do this by turning on cellular data and selecting the eSIM plan as your primary line.
Test Connectivity: After activation, test your connection by browsing the internet or using apps that require data.
eSIM vs Physical SIM vs Roaming#
When choosing how to stay connected in Israel, it’s essential to understand the differences between eSIMs, physical SIM cards, and roaming:
eSIM: Offers flexibility, convenience, and often lower costs. You can switch between different plans and carriers without needing to physically change SIM cards.
Physical SIM: Requires you to purchase a local SIM card upon arrival. This can be less convenient, as you may need to seek out a store and deal with installation. However, it can be a good option if you prefer a traditional method.
Roaming: Using your home carrier’s service while abroad can lead to high costs. Roaming plans often charge significantly more for data usage, making them the least economical choice for travelers.
Overall, eSIMs provide a balance of convenience and cost-effectiveness, making them the preferred option for many travelers in Israel.
Tips for Staying Connected in Israel#
Download Offline Maps: Even with an active data plan, downloading offline maps can save you data and ensure you can navigate even without a signal.
Use Wi-Fi When Available: Many cafes, restaurants, and public spaces in Israel offer free Wi-Fi. Take advantage of these connections to save your mobile data.
Monitor Your Data Usage: Keep an eye on your data consumption to avoid running out unexpectedly. Most smartphones have built-in data trackers.
Consider Local Apps: Download local apps for transportation (like Gett or Moovit) and attractions to enhance your experience and minimize data usage.
Stay Updated: Follow local news and events through apps or social media to make the most of your time in Israel.
By choosing the right eSIM plan and following these tips, you can stay connected throughout your journey, making your travel experience in Israel seamless and enjoyable.

1 GB Israel travel eSIM valid for 7 days
eSIM Plan
From $ 4.5

2 GB Israel travel eSIM valid for 15 days
eSIM Plan
From $ 5.5

Israel travel eSIM | 1 GB, 10 mins of local calls, 10 SMS valid for 7 days
eSIM Plan
From $ 5.5
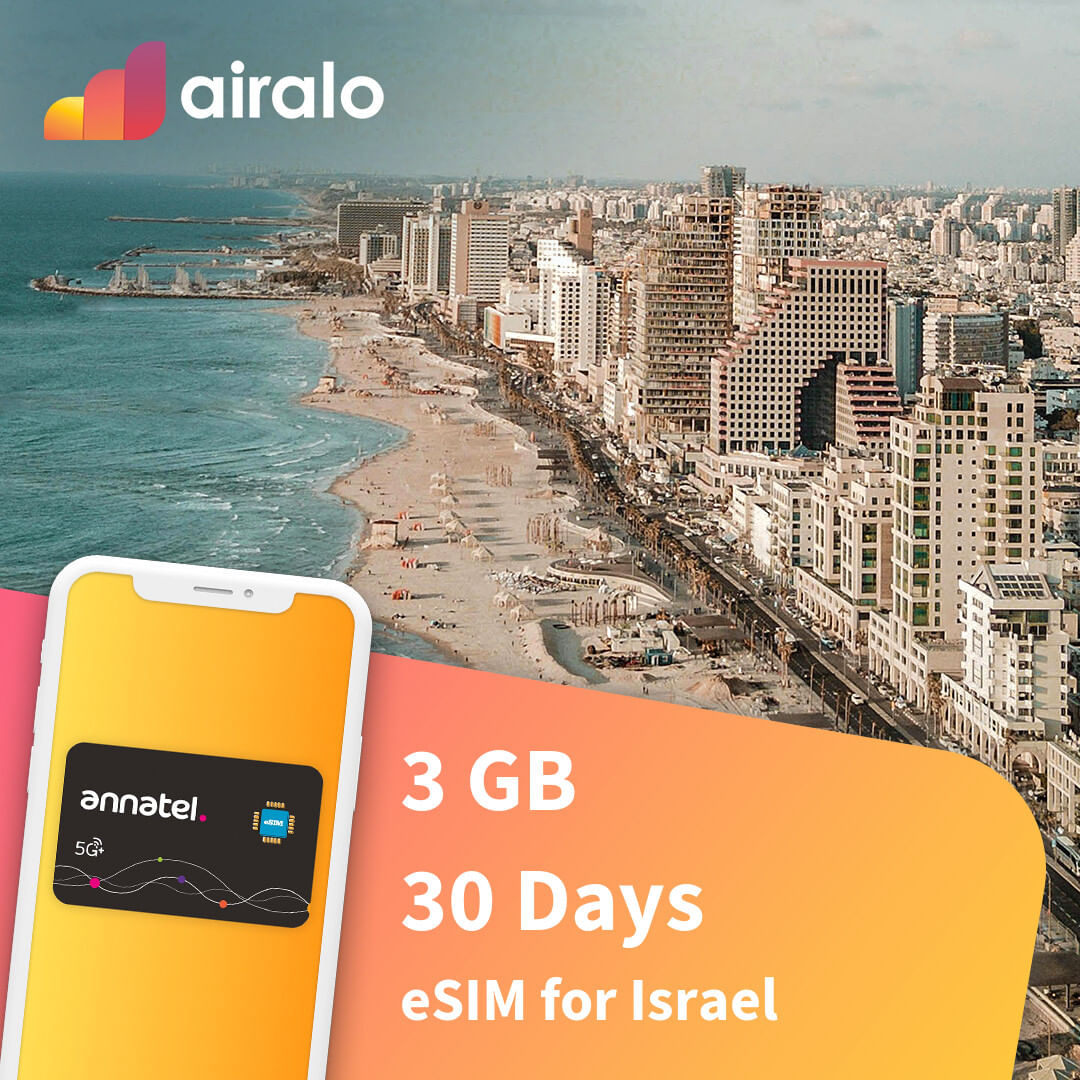
3 GB Israel travel eSIM valid for 30 days
eSIM Plan
From $ 6.0

Israel travel eSIM | 2 GB, 20 mins of local calls, 20 SMS valid for 15 days
eSIM Plan
From $ 7.5

5 GB Israel travel eSIM valid for 30 days
eSIM Plan
From $ 8.0

Israel travel eSIM | 3 GB, 30 mins of local calls, 30 SMS valid for 30 days
eSIM Plan
From $ 9.5
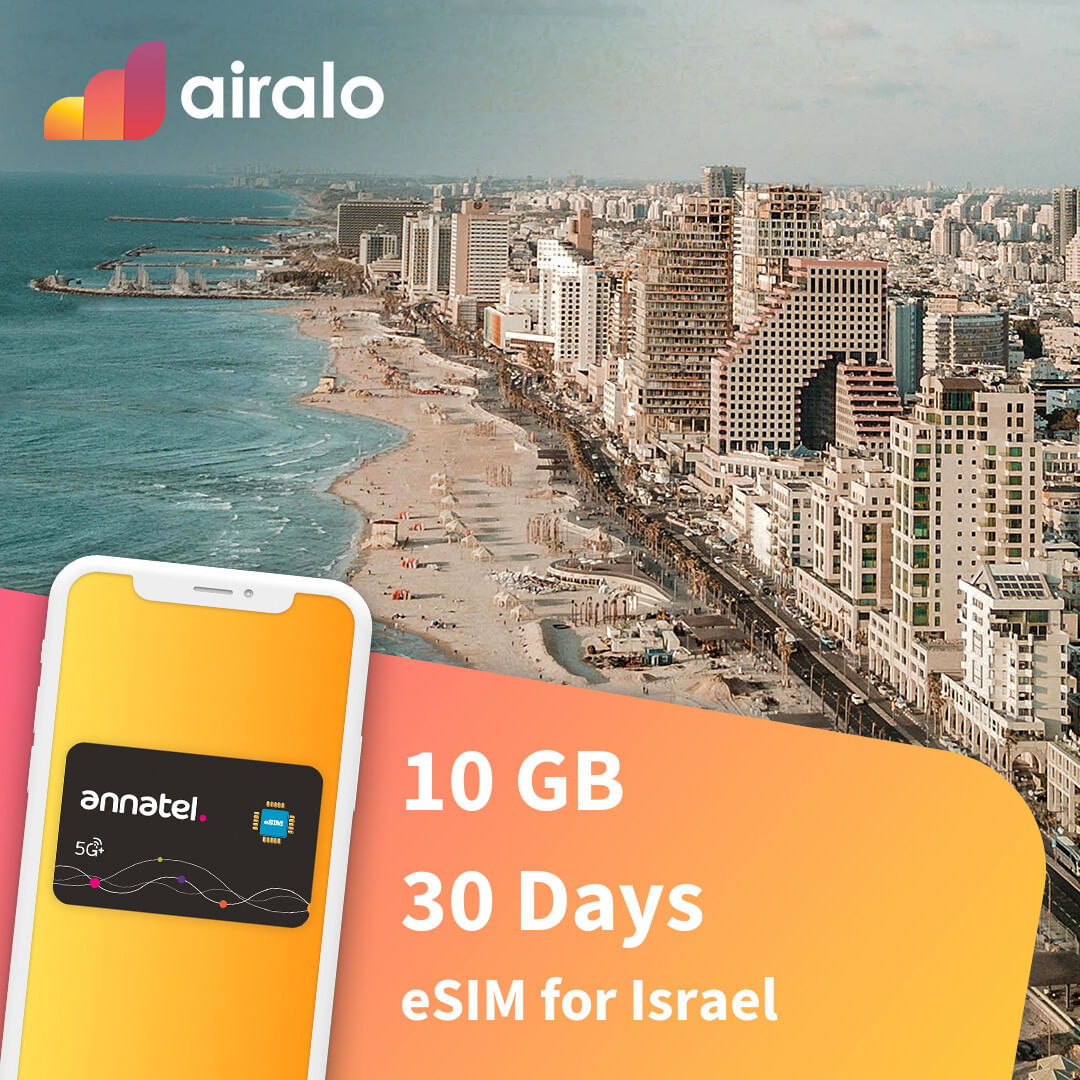
10 GB Israel travel eSIM valid for 30 days
eSIM Plan
From $ 12.0